Terra cotta pots are so versatile. You can paint them VGK style for your potted plants or herbs, you can glue them together and paint them like your favorite VGK hockey player (tutorial coming soon), or you can turn them into a blinged VGK candy jar like the one we’re teaching you to do today.
Now that school has started in Nevada, we know some of you moms will finally have time to complete a project like this. So take a little time for yourself after you drop the kids off at school, and have fun making this cute craft.
Table of Contents
Supply List:
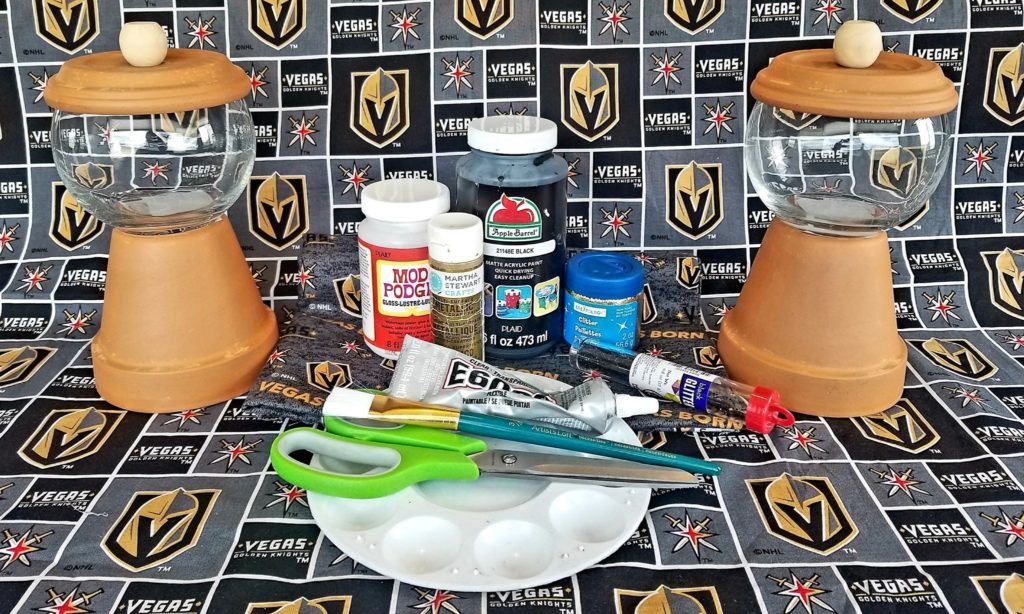
All supplies listed below can be found at Walmart or a craft store, unless otherwise stated.
Terra Cotta Pot 4.25″ (also at home improvement stores or plant nurseries)
Terra Cotta Saucer 4.25″
Glass Bowl 3.5 “ (Dollar Tree)
Wood Ball or Knob ½” (home improvement store or craft store)
Gold or Black Acrylic Paint
Gold or Black Glitter
Mod Podge
VGK Fabric of Choice (JoAnn’s}
E6000 Glue
Paint Brush
Paint Tray
Paper Plate or Disposable Tray
Scissors
Step One:
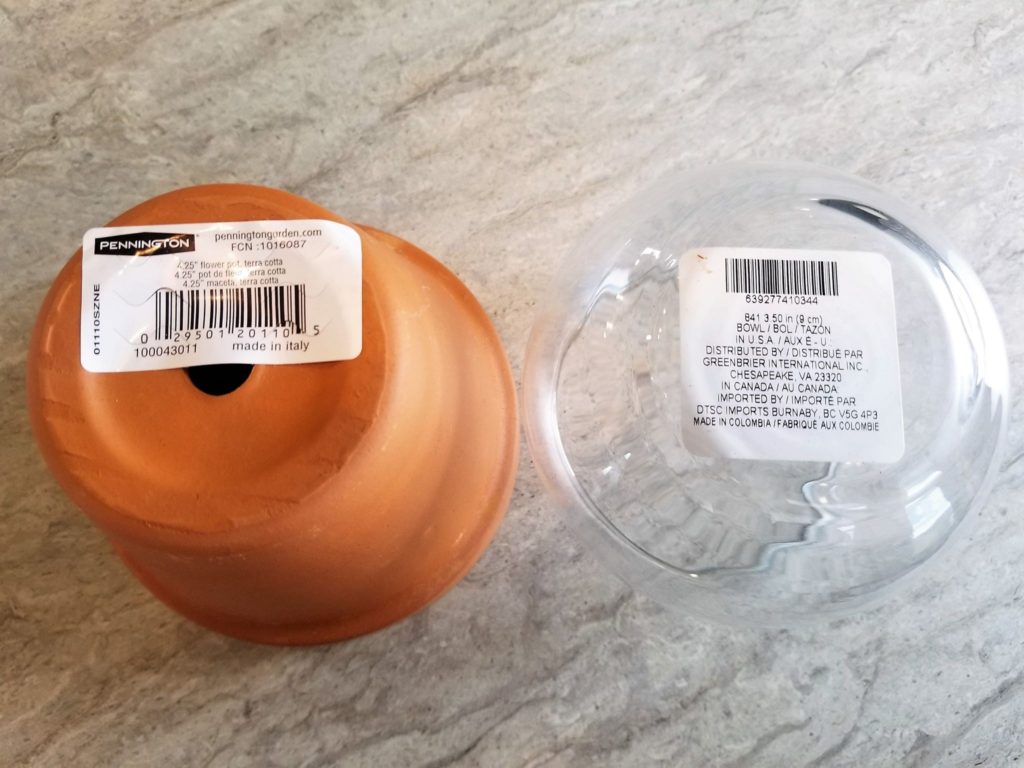
Remove the sticker off of the bottom of the terra cotta pot and glass bowl. Wash only the glass bowl with soap and water. Dry and set aside.
Step Two:
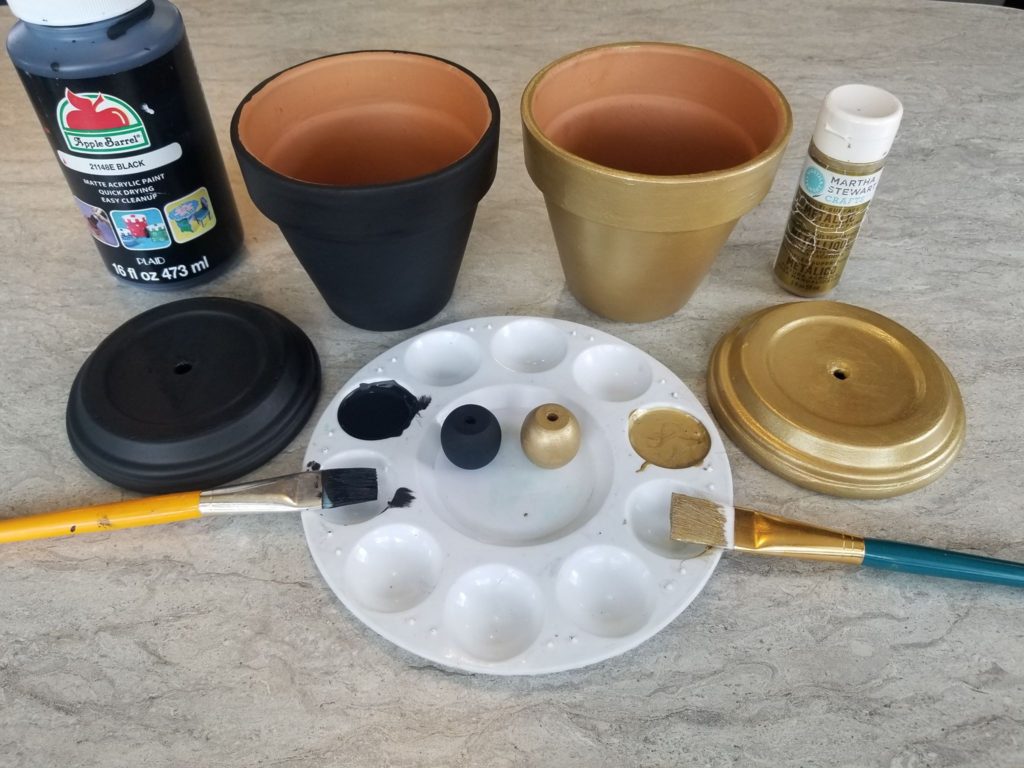
Paint your terra cotta pot and wood ball/knob. You will most likely use two coats of paint to fully coat your terra cotta. The wood ball/knob only seemed to need one. I decided not to paint the inside of my pot because you won’t see it once the candy dish is finished, but you can if you want to.
Step Three:
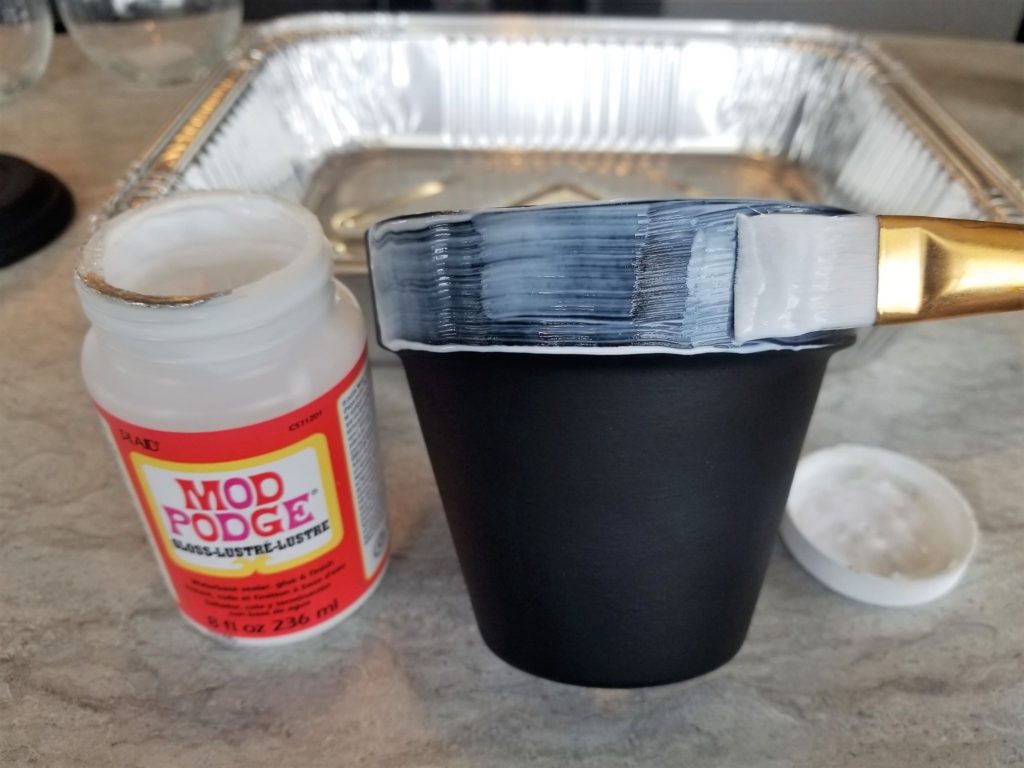
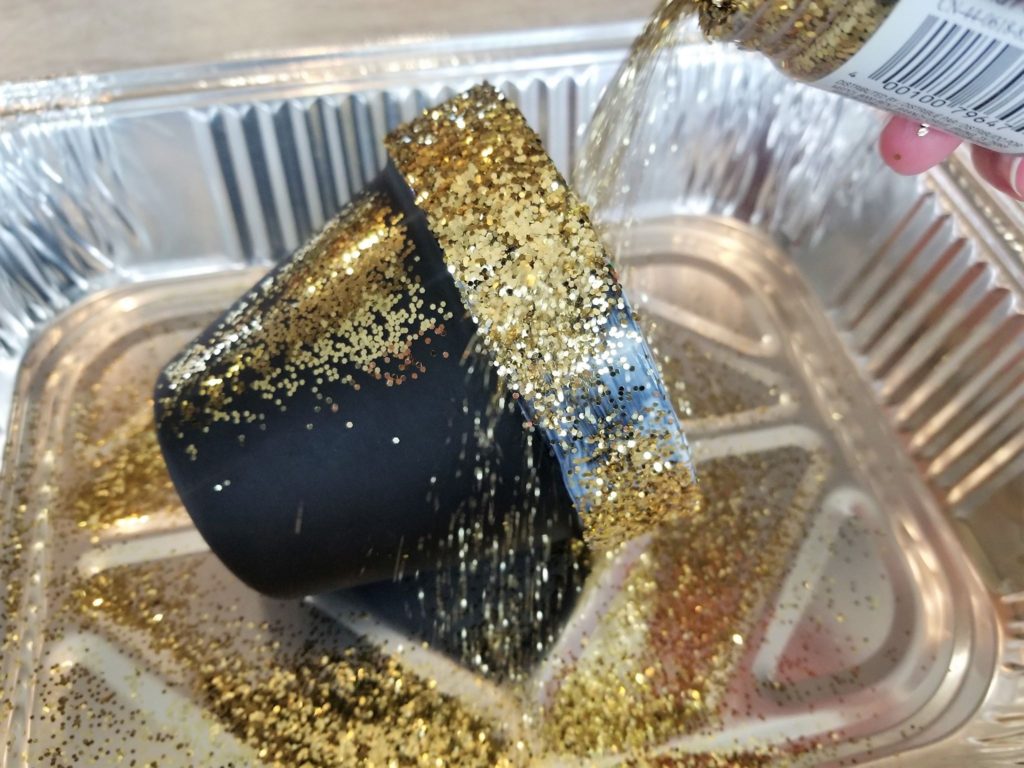
Using your paint brush, add a thick layer of Mod Podge on the trim of the pot, hover over a tray or plate, and quickly pour glitter over the Mod Podge. If an area dried too quickly for the glitter to stick, repeat the process. If you use a tray or a plate, you can pour the excess glitter back into its container.
Step Four:
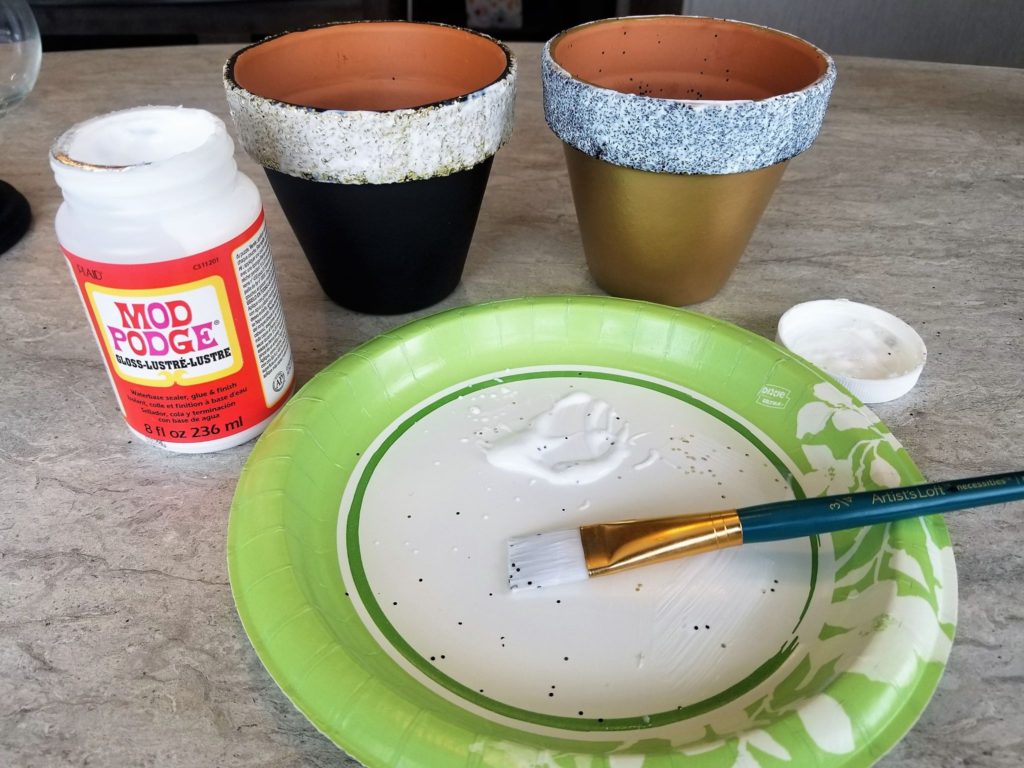
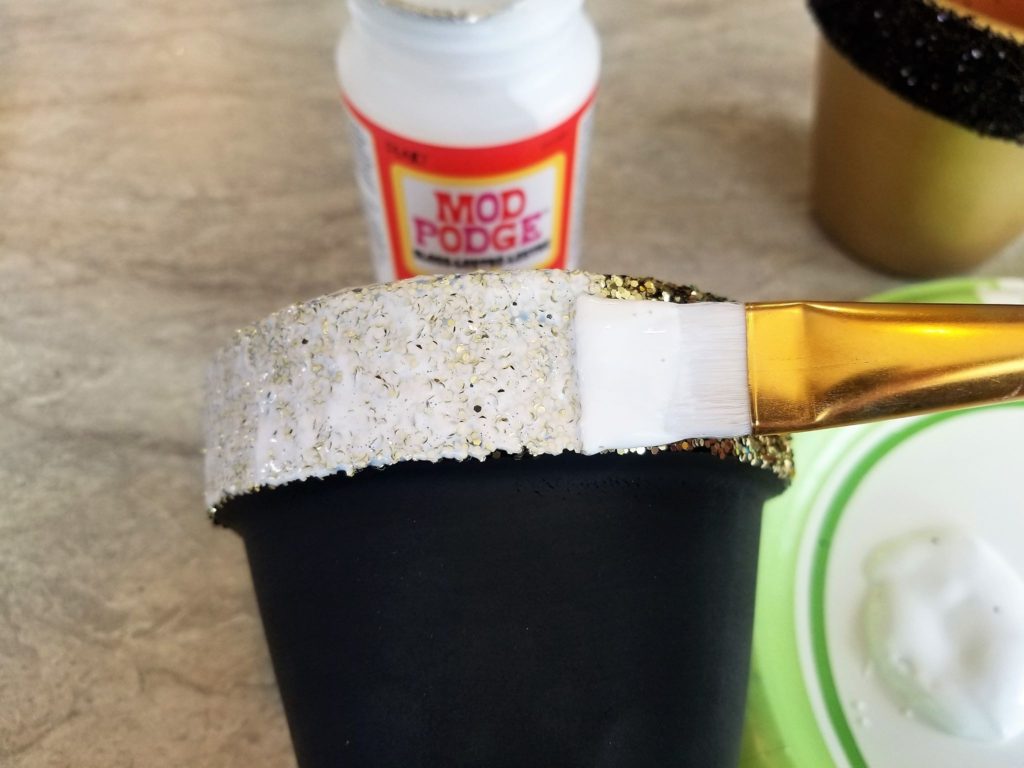
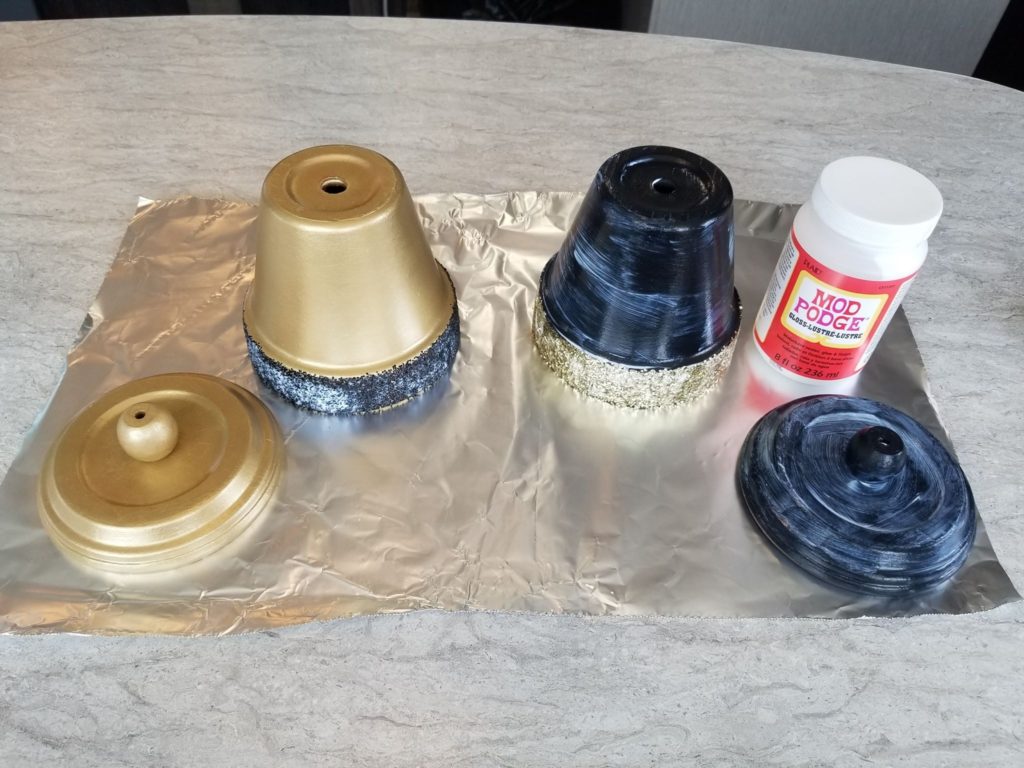
Pour a little bit of Mod Podge onto a paper plate (this way glitter won’t get into your Mod Podge container). Using your brush, gently add a thick layer of Mod Podge over your glitter edge. Doing this will secure the glitter, so it won’t leave a trail everywhere you go.
Step Five:
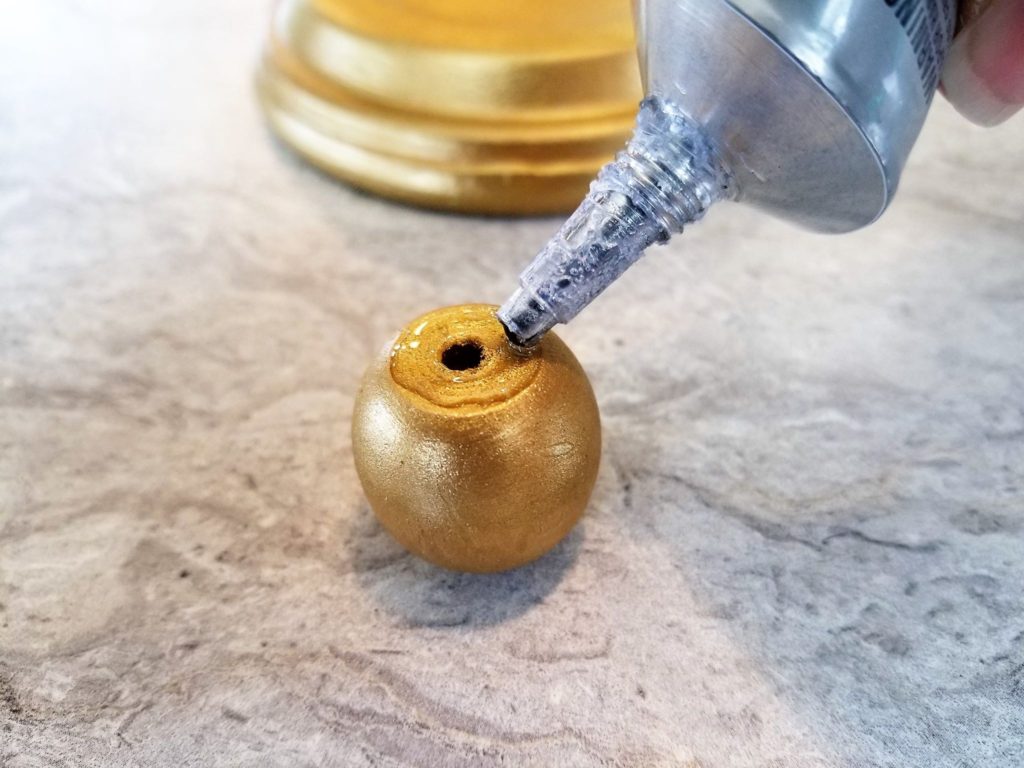
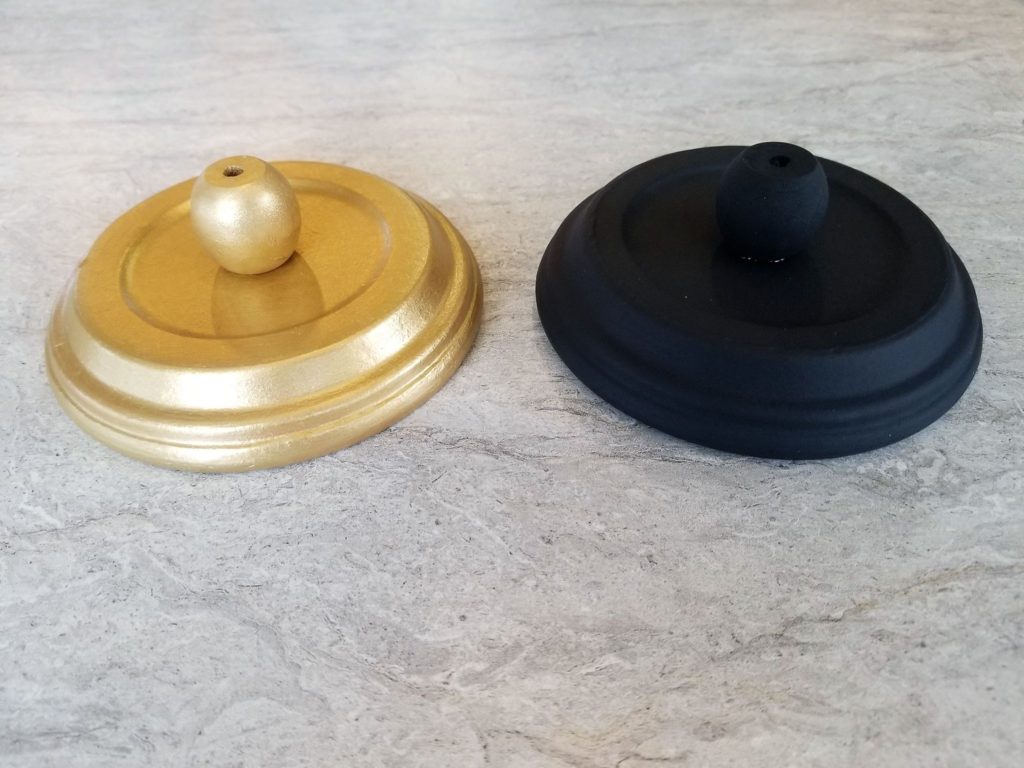
Using the E6000 in a well ventilated area, and with gloves (this glue is permanent and probably not too safe to the touch), glue the wood ball/knob to the saucer. You want to make sure it is the “bottom” of the saucer and it is glued in the center.
Step Six (Optional):
I decided I didn’t like the matte finish of the black paint. I felt like you would see any scratch, so I added a layer of Mod Podge to coat everything. This step is optional. I felt like the gold paint coated well and didn’t need a seal. Let the Mod Podge dry if you added it to the pot before you move onto the next step.
Step Seven:
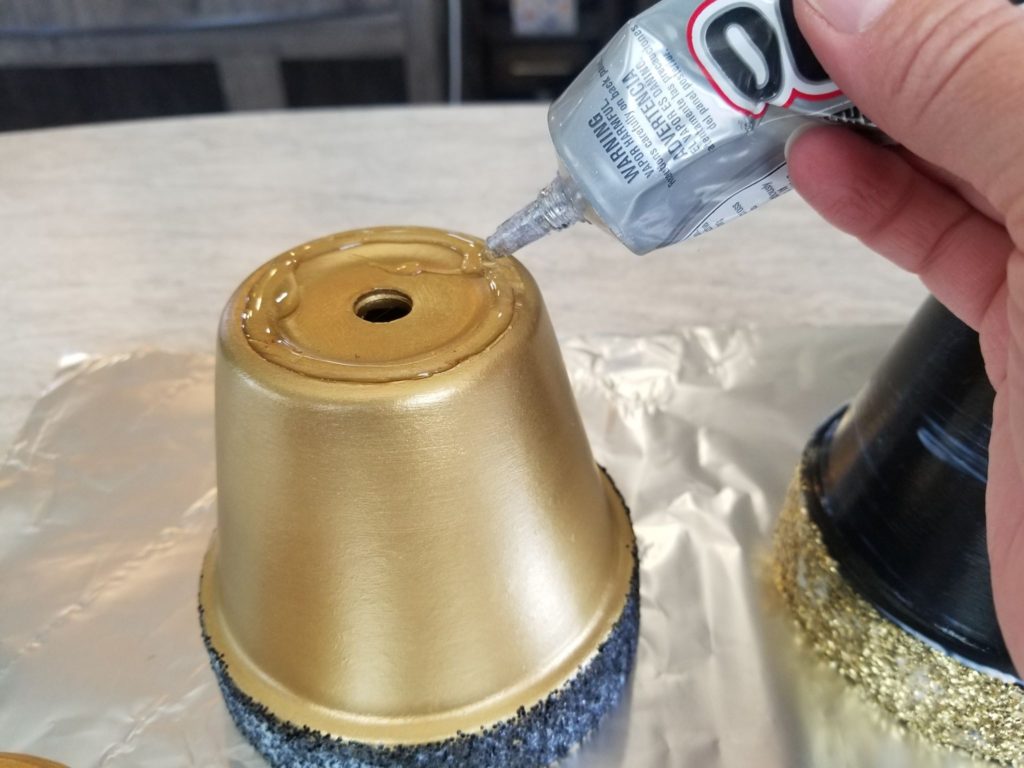
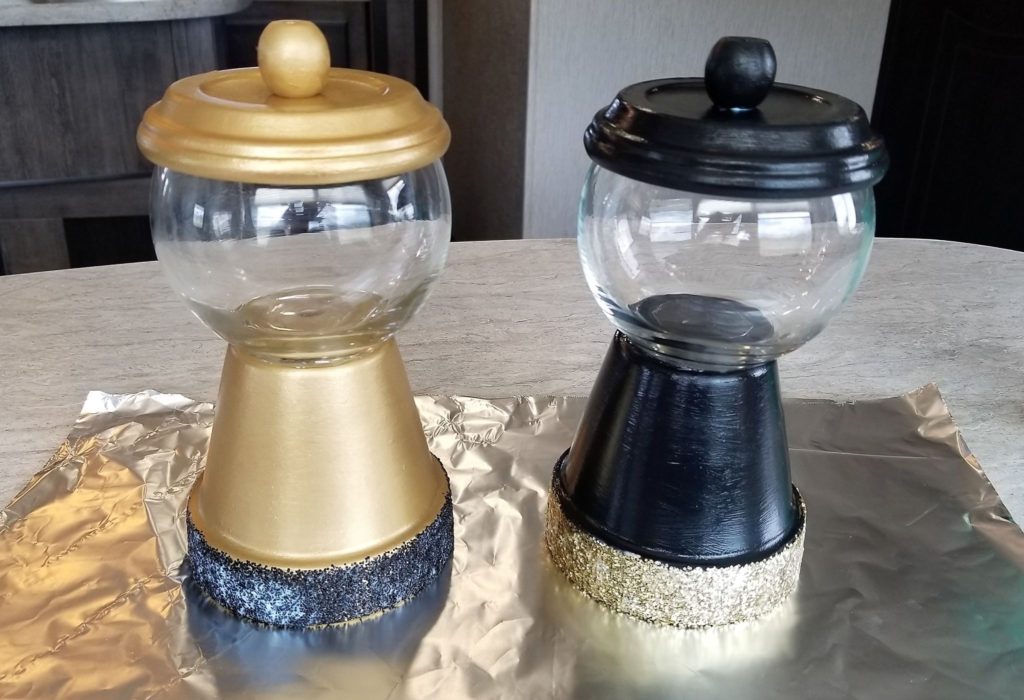
In a well ventilated area, and while using gloves, add E6000 to the “bottom” of the terra cotta pot. Center the glass bowl on top of the glue. Tip: Place the candy dish on a surface it won’t stick to: foil, wax paper, glass.
Step Eight:
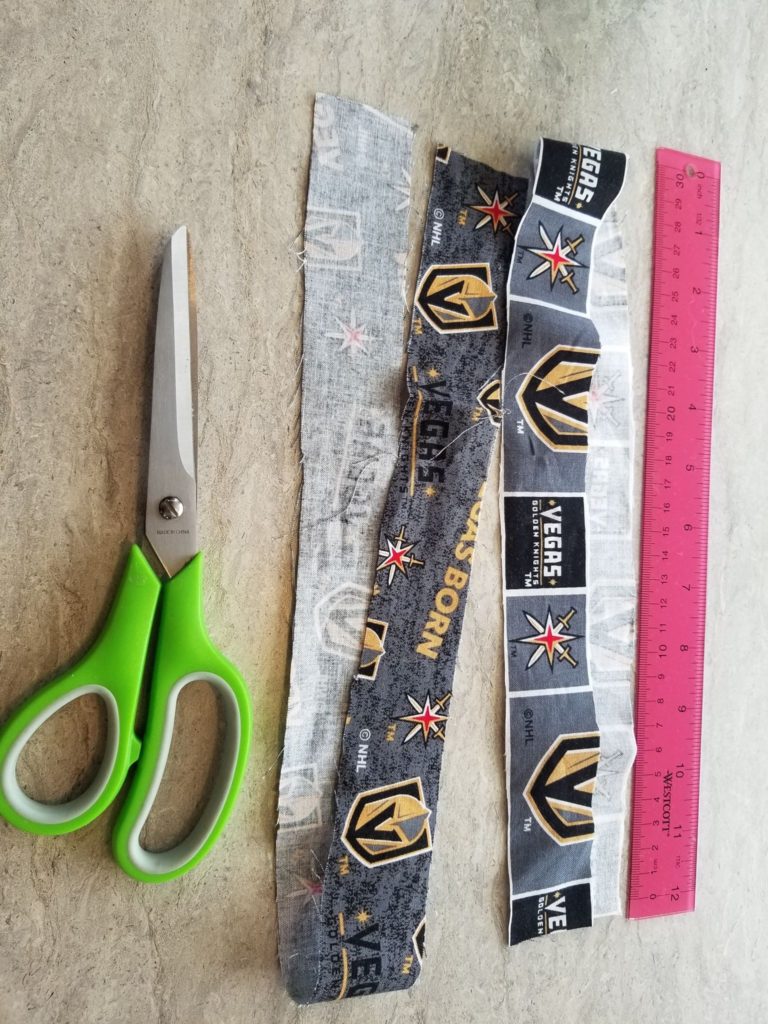
Cut your VGK fabric into 1 ½” x 24″ strip.
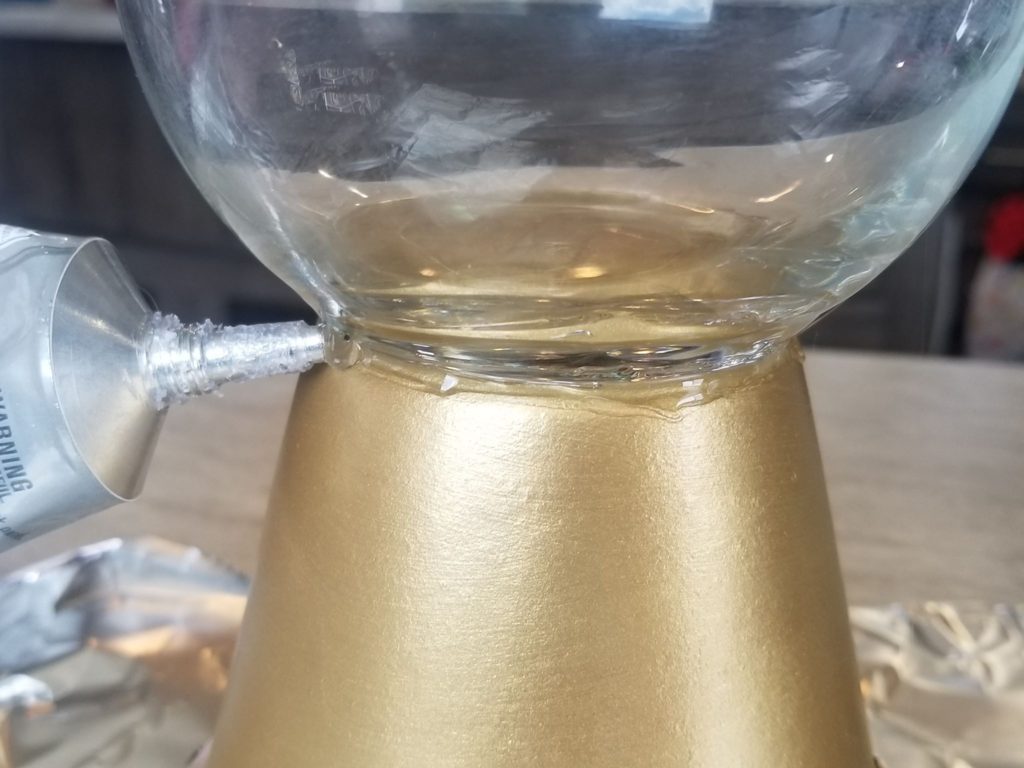
Add a line of glue where the pot meets the bowl to secure your fabric.
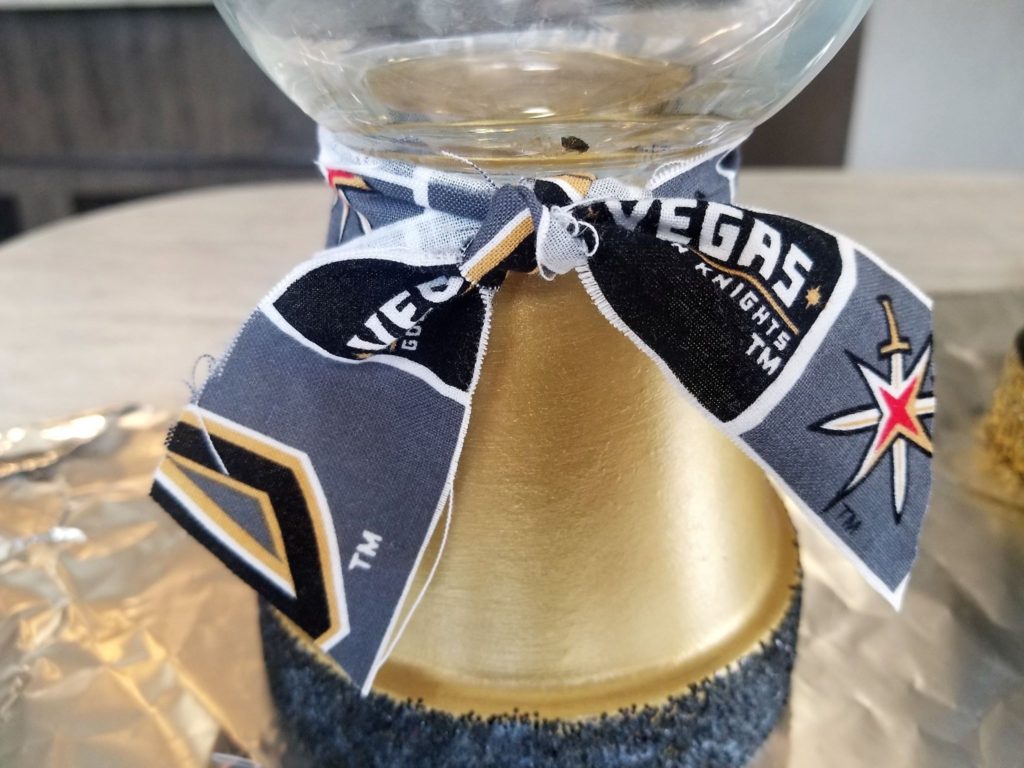
Tie the fabric and trim the ends, making them as short or long as you prefer. Allow your candy dish to dry overnight.
Last Step:
Add your favorite candy and place at your desk/counter to show your love for our Vegas Golden Knights.
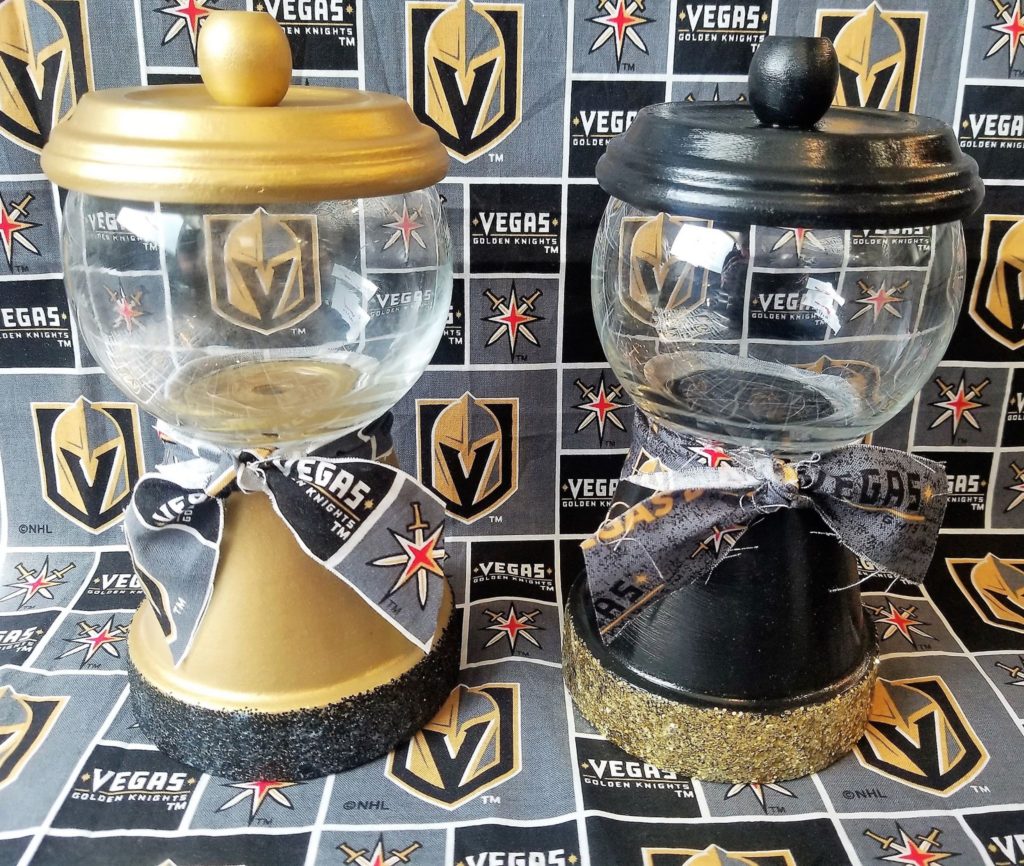
These would make a great Christmas gift for teachers or grandparents who like to keep candy on hand for the kids!
Have any questions, or want to purchase these candy dishes? Contact our craft expert, Rachelle O’Dell at rachelle@vgkladies.com